
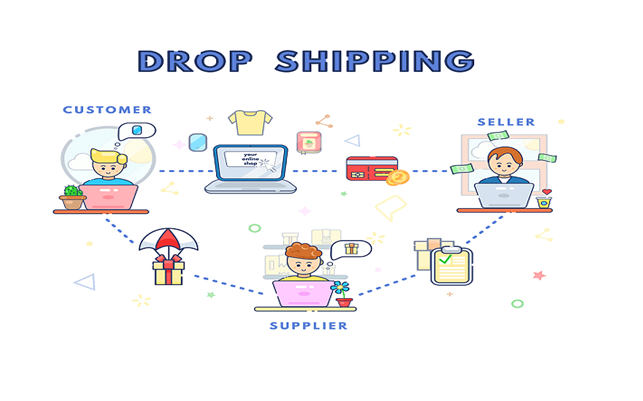
Dropshipping has become one of the most popular methods to make money online.
One of the main reasons dropshipping is low-risk, even for beginner-level entrepreneurs, is because it doesn’t come with the costs of maintaining a large inventory. This method is also evidently profitable as many drop shippers can generate thousands of dollars.
This article will show you how to make a dropshipping store using WordPress and share some tips on how to manage and promote it.
1. Choose Your Niche and Supplier
When selecting a niche, sell products you personally like. Turning passion into profit can contribute to long-term business sustainability because you have the excitement and motivation to work on the business
An alternative is to choose a niche that has a big target market and is currently trending. Use Google Trends to learn about the current trends and people’s interests over time by looking at their search behavior.
Also, try to check customer reviews of your competitors. It gives a better understanding of potential customers’ expectations and how your products can fill the gap.
Whatever you decide to go with, do some extensive research beforehand to help spot business opportunities.
After that, find dropshipping products and a supplier. Browse online marketplaces, like SaleHoo or Etsy, or drop shipping directories, like Dropship Direct and Doba.
2. Choose a Hosting Provider
Before starting a website, you should know how to get WordPress hosting. It will store all of your website’s components, like images, content, and code.
Choose a reliable hosting provider that meets these recommended hosting requirements:
- Supports PHP version 7.4 or greater.
- Has MySQL version 5.6 or greater, or MariaDB version 10.1 or greater.
- Includes HTTPS support providing an SSL certificate to protect your website.
I suggest that you also consider a web host that provides a WordPress automated installation. It will save you a lot of time when setting up your website.
3. Pick an SEO-Friendly Domain Name
A domain name is an address that people type to visit your website, like thestore.com.
An SEO-friendly domain includes a niche-specific keyword along with your brand name. For instance, if your brand name is James and you sell jewelry, jamesjewelry.com can be a great option.
Try to create a short and easy-to-spell domain name. Long and complicated URLs can cause typos and confusion. Ideally, avoid using numbers and symbols, and keep the domain name between 15 to 20 characters.
4. Install WordPress
Installing WordPress won’t be a hassle when you choose a hosting provider with a one-click installation.
First, go to your hosting provider’s control panel and click the auto-installer button. After that, type in your domain name, and you’ll get a link to the WordPress admin dashboard. The details, like username and password, are also sent to your email.
Next, set up the WordPress settings based on your preferences. Click Settings -> General, and you’ll see several options, like site language, timezone, and date format.

5. Set Up WooCommerce
WooCommerce is an eCommerce WordPress plugin to turn your website into an online store.
To install it, follow the following steps:
- Click Plugins on the main navigation menu and Add New.
- Look for “WooCommerce” on the search bar and click Install Now.
- Click Activate Now.
Now, let’s use the WooCommerce Wizard to set up the plugin. Add your store’s basic information, like location, the currency you use, and product type.
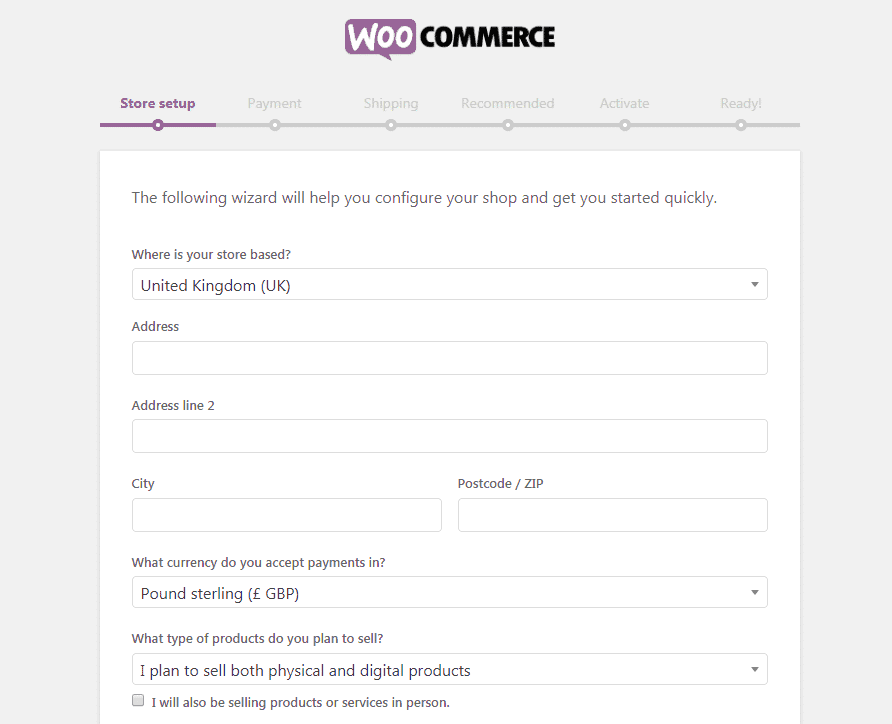
Then, choose the payment methods you accept.
WooCommerce offers PayPal and Stripe. It also has the option to add other payment gateways later. Move on to the Shipping settings by configuring the shipping zone and methods.
Before completing the installation process, check the box if you want to use recommended plugins from WooCommerce, like automated taxes settings.

6. Customize the Website
One of the first steps in customizing your website is changing its appearance. Luckily, WordPress has plenty of themes to choose from.
My top picks for beginners are Divi and Shopstar. They’re compatible with WooCommerce features and have a drag-and-drop editor that lets you easily customize the website without coding knowledge.
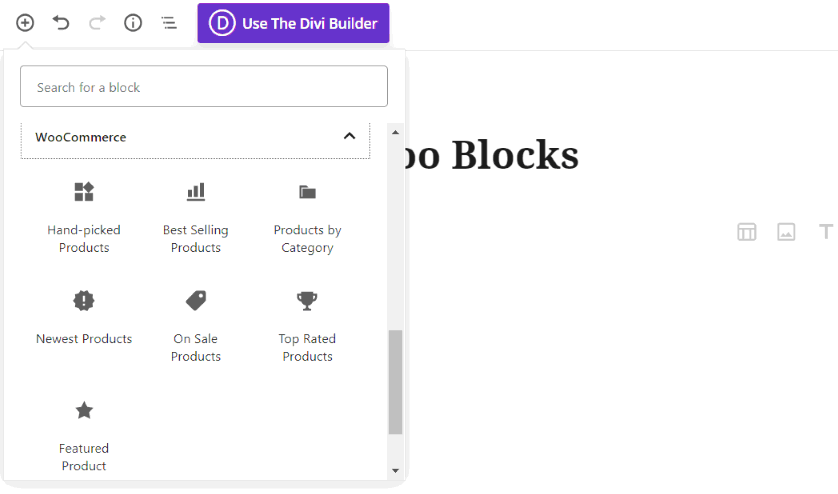
Then, organize your website structure. Start by integrating WooCommerce blocks, such as all products, product search, filter, and review.
Go to Pages -> Add New, and you’ll see the + button at the top left of the page. Click the button to see the kinds of blocks to include on the page.
Next, fill your store with products. No need to build product pages from scratch because WooCommerce and most themes provide product page templates. Choose a suitable template for your overall design and start customizing it from there.
7. Promote Your Dropshipping Store
There’s no instant approach to notify Internet users about new websites. After your website is ready to launch, consider applying both organic and paid marketing strategies to promote it.
Organic marketing refers to efforts that naturally attract people to your website. They include content marketing, search engine optimization (SEO), and social media. This type of marketing helps generate traffic, builds awareness, and converts leads without much investment. However, it’s an ongoing process of setting it up and takes a long time to see the results.
Meanwhile, paid marketing involves paid posts on social media or search engines. To differentiate organic and paid marketing, you’ll see Ad or Sponsored labels on the paid approach.
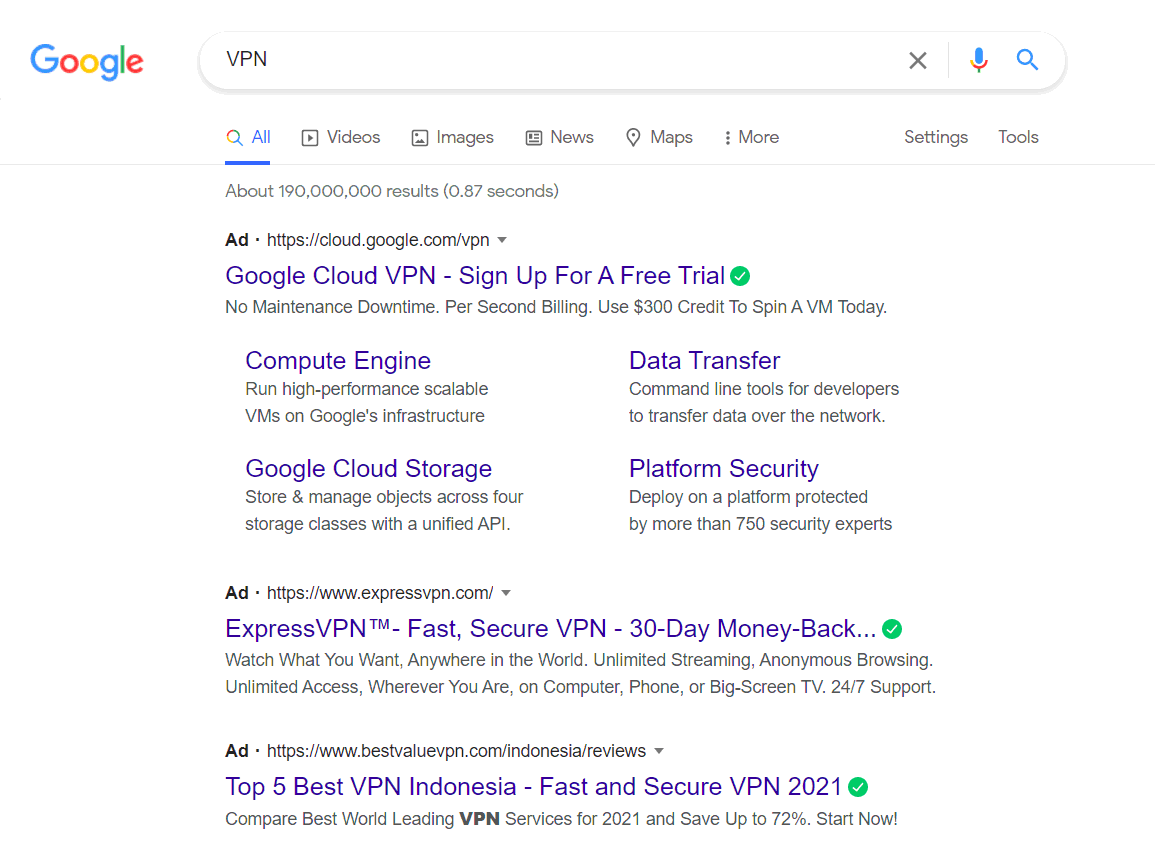
Many marketers rate this strategy as “very important” or “extremely important” for their overall marketing performance. It helps get traffic and leads more quickly.
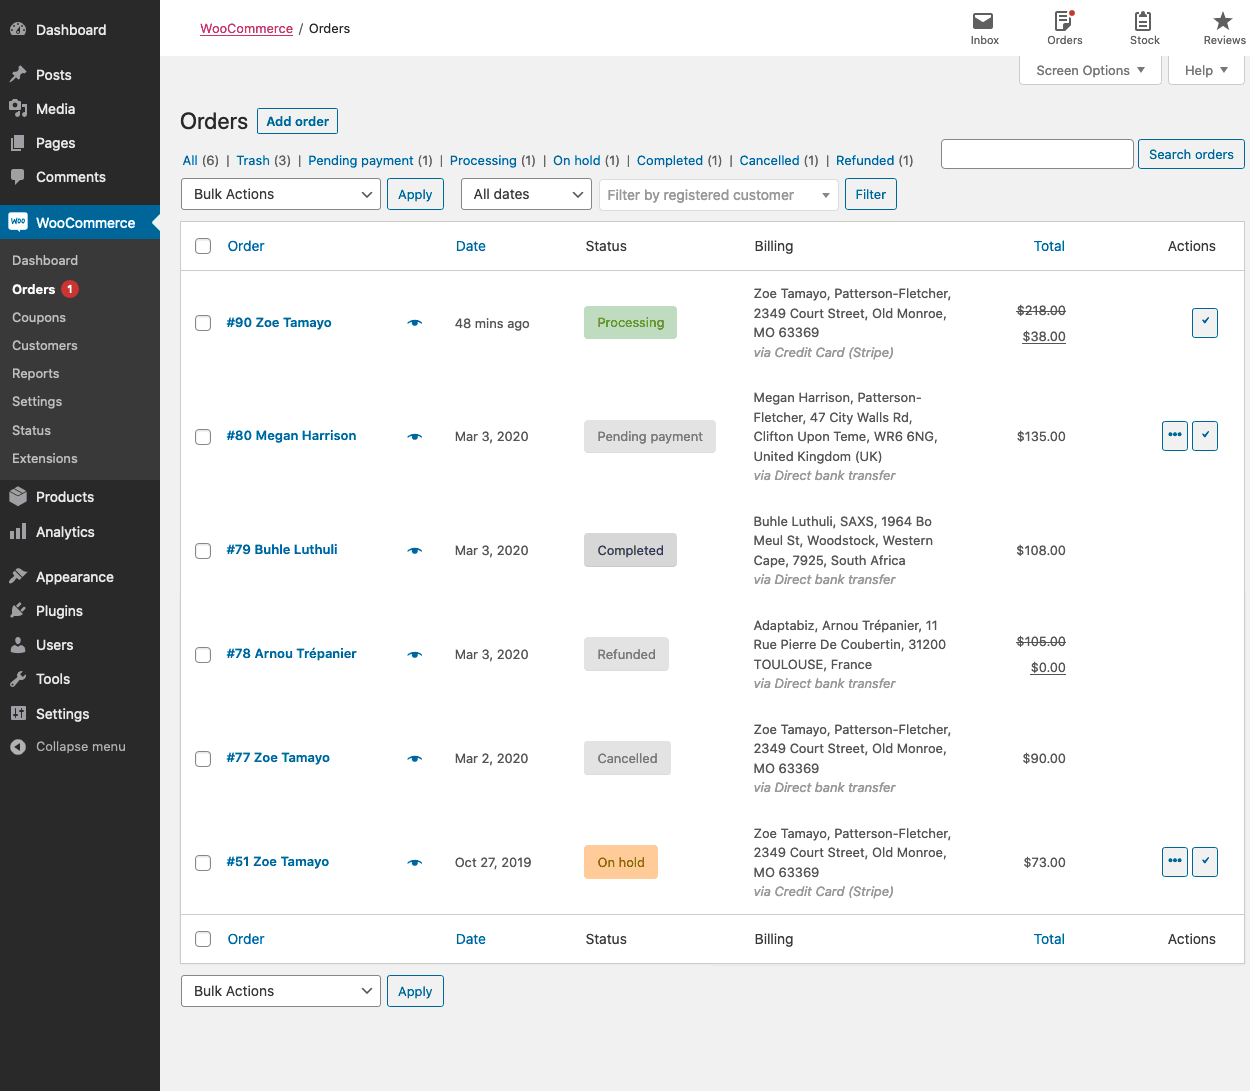
8. Manage Order Fulfillment
After the first sale on your online store, go to WooCommerce -> Orders to see the order details, like customer name, order status, and purchase total.
Then, transfer the information to your supplier. Instead of processing this manually, automate the workflow by installing a warehouse management plugin, like Scanventory or Skuvault.
The management plugin will sync to the warehouse inventory and check the product availability. Some even provide custom label generation and print reports.
When the supplier receives the details, the supplier will pack and directly ship the order to the customer.
Conclusion
There are many platforms to make a dropshipping store, and WordPress is an excellent option due to its simplicity and freedom of customizability.
To quickly summarize the process of starting a dropshipping business:
- Choose a niche and find a supplier.
- Choose a hosting provider.
- Purchase a domain name.
- Start a WordPress website.
- Install WooCommerce.
- Customize the website.
- Start marketing your business and see your business grow.
Now that you know how to build a dropshipping store, it’s time to create your own. Good luck!
This post was last modified on August 20, 2021 12:25 PM