
Imagine a world where your Mac can speak to you, effortlessly guiding you through its interface and applications. With Voiceover, an advanced screen reader built into every Mac, this is not only possible but also incredibly empowering.
In this article, we’ll explore how to set up and use Voiceover to make your Mac accessible to everyone, regardless of visual impairments.
So, let’s dive in and discover the wonders of Voiceover on your Mac!
Why use Voiceover on Mac?
Voiceover is more than just a basic screen reader; it’s a gateway to independence and productivity. By using Voiceover, visually impaired users can accomplish tasks that were once challenging or impossible.
It opens up a world of opportunities, allowing them to browse the web, compose emails, use applications, and even code.
With Voiceover, Mac users can fully immerse themselves in the digital realm and accomplish tasks with confidence.
Setting Up Voiceover
To get started, follow these simple steps:
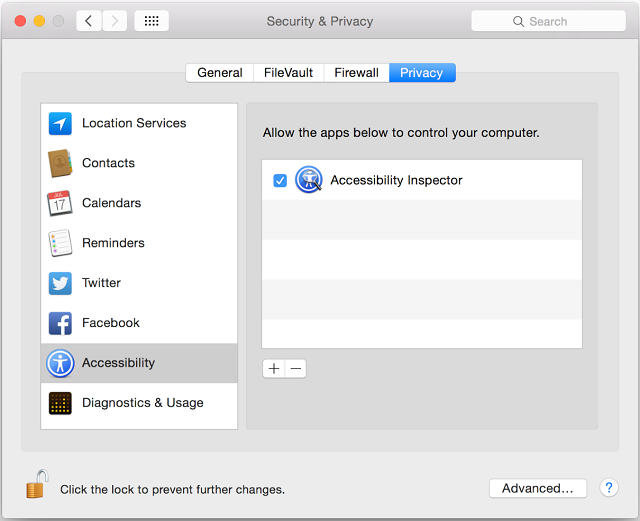
- Go to the Apple menu and click on “System Preferences.”
- Select “Accessibility.”
- Choose “Voiceover” from the sidebar.
- Click the checkbox next to “Enable Voiceover.”
- Configuring Voiceover preferences
Once Voiceover is enabled, you can customize its behavior to suit your preferences.
Here are a few key settings you may want to explore –
- Voiceover Utility: You can configure advanced settings and personalize the experience.
- Verbosity: Adjusts the level of detail spoken, allowing you to tailor the amount of information you receive.
- Navigation: Configures navigation options, such as how Voiceover interacts with tables, links, and form controls.
While voiceover can be a useful accessibility feature for individuals with visual impairments, there may be instances when you need to disable it. To disable voiceover on Mac, go to the System Preferences, select Accessibility, and then turn off VoiceOver.
Disabling VoiceOver is important when it unintentionally activates or interferes with regular operations, such as typing or navigating the interface. It allows for a smoother user experience and ensures that the Mac functions as intended without voice-based assistance.
Navigating with Voiceover
Voiceover offers a range of commands to navigate through your Mac’s interface. Here are some essential commands to get you started:
- Tab: Move to the next focusable element
- Shift + Tab: Move to the previous focusable element
- Control: Pause or resume speech
- Command: Activate the item with focus
- Option: Open the Voiceover help menu
Using the rotor
The rotor is a unique feature in Voiceover that allows you to quickly adjust the way Voiceover interacts with different types of content. By rotating your fingers on the trackpad, you can cycle through various options, such as headings, links, and form controls, making navigation more efficient.
Customizing Voiceover commands
If you want to fine-tune Voiceover’s behavior, you can customize commands to suit your specific needs. This allows you to create a personalized experience that maximizes your efficiency and comfort.
Final Words:
Congratulations! You’ve now learned how to set up and use Voiceover, the powerful screen reader on your Mac. By harnessing the capabilities of Voiceover, you can navigate your Mac, interact with apps, and browse the web with ease, regardless of visual impairments.
Embrace the world of accessibility and empower yourself to accomplish anything on your Mac with the help of Voiceover.