
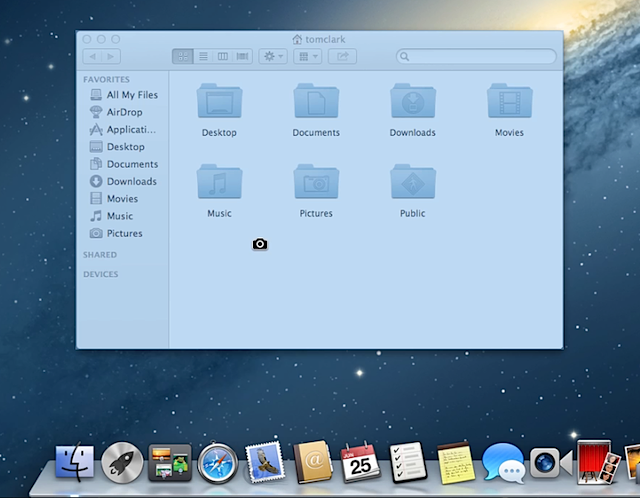
There is good news for Mac OS X users who are interested in taking screenshots of favorite areas or desktop which can now be easily shared with colleagues, family members and family members. Yes, these screenshots can be of bugs, video frames and game scores that can be easily posted.
Process of taking desktop screenshots for Mac OS X
- At first, open the program or favorite application which needs to be taken as screenshot and set up the desktop configuration.
- Simply press now Command+Shift+3 on the keyboard and release them all simultaneously.
- As soon as you get to the desktop of Mac, you will find fresh addition of new.png file whose heading will comprise of **screenshot, which would be quite the same which you set in the first step for desktop.
- Open the new picture or screenshot in picture viewer as your wish after double clicking on this file. This screenshot will be the same shot as you snapped of your desktop which can be shared to anyone.
Process of taking screenshot of specific desktop area in Mac OS X
- Get the window or application by pulling out for which screenshot is required. This screenshot can be taken for anything, even for the internet pictures.
- Press Command+Shift+4 on keyboard and release them simultaneously.
- Now see your mouse cursor turning into crosshairs, ready to be moved anywhere on desktop.
- Move the cursor right to the corner from where screenshot is required and drag your mouse in either direction by pressing down so that entire area gets covered and captured.
- Mouse button should be released then.
- A new .png file will appear on your desktop, containing the just captured screenshot.
These steps are easier to follow and with them, you can usually take screenshots of anything on the Mac OS X desktop.